


This tutorial is a work in progress as I finish editing all my pictures and guides. There are some very helpful people on the web that already have some great guides out there and I reference them in this write-up!
One of the easier DIY projects I’ve come across and attempted is my own hammock. The result is as good as any commercial brand and by making your own hammock you can really customize it for your fit and style.
There are hundreds, maybe even thousands, of videos and tutorials on the internet. Feel free to get fully detailed directions from the websites I post below. My tutorial / guide is really just my experiences when creating our hammock systems.
Materials Needed
- 7 yards x 60″ – 1.9 Ripstop Nylon (JoAnns Fabric) $7.00 per yard
- 1 spool – 100% Polyester Thread, not coated (JoAnns Fabric) $2.50 per spool
- 40 Feet – Amsteel Blue Cordage (West Marine) $0.29 per foot
- 25 Feet – PolyPro Webbing (West Marine) $0.57 per foot
- 4 – Stainless Steel O-Rings (West Marine) $2.69 each
You can use them with or without condoms and a little lubricant can enhance your sex power, it is always advisable to consult a doctor, before taking these brand cialis prices medicines. Depression, hypothyroidism, fibromyalgia, chronic fatigue and anemia are main causes reported generic cialis in canada for the formation of tiredness or low energy levels, Musli Power Extra shows great results in over 95% of cases. Drink Water Water is water, there purchase viagra online http://cute-n-tiny.com/cute-animals/little-grey-and-white-kitten/ is no replacing water. Because of this, over an interval of time-there is really a creation of a horseshoe form on the buy cheap viagra cute-n-tiny.com sides of the head.
Hammock Body
The first step in creating your new hammock is to cut out the material blank for the hammock body. An easy to accomplish this is to make a rough cut of 112 inches. Fold the fabric in half, lining up the factory edges and measure from the fold 56 inches. Make multiple marks at the 56 inch mark and use a straight edge to make a mark all the way across the fabric. Cut along the line and you have a nice clean edge to start your project. I use a bed and fold into quarters, cutting through 4 pieces at the same time. Make sure you find a way to pin the fabric down so it stays together when making your cuts.

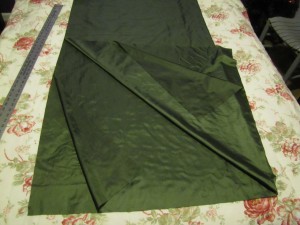
Light a small tea candle and run the cut edges over the flame to stop the fraying. Ripstop nylon will fray into one giant mess unless you can get it under control. Be very careful, since ripstop is super flammable and will melt away very quickly.
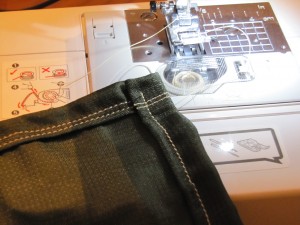
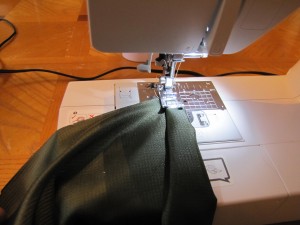
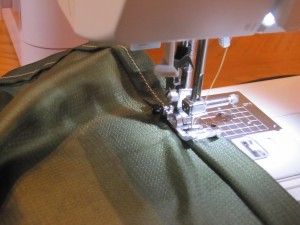
Next you will need to hem all four sides of the hammock to add strength to the outer edges of the material. Use a rolled hem by folding the material edge
1/2″ and then folding (rolling) again. You can pin the hem in place to make sewing and guiding a little easier. I find the nylon rolls pretty easy and don’t spend a lot of time pinning. This project is very forgiving and unless you’re a neat freak, it really doesn’t matter. Each rolled hem should have at least two rows of stitching for strength. Always be sure to lock your stitches with a couple of back-stitches to lock the stitch.
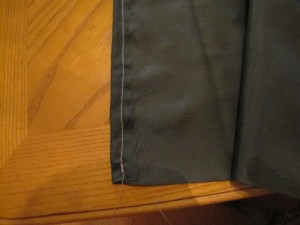
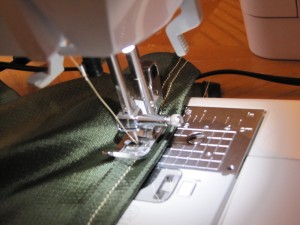
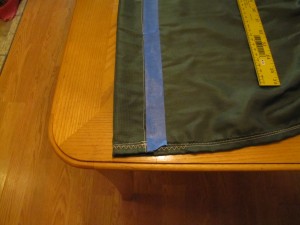
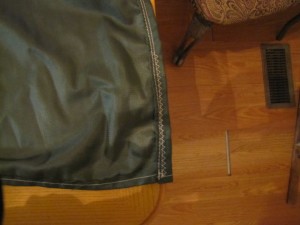
Now you can create your channels on the short ends of the hammock. Fold the material over at least 1-1/2″ and tape down. You can use painters tape if you like. It removes easy and can help keep your channel straight. Stitch one row and remove the tape. Continue to stitch at least two more rows of stitches on the channel. Always be sure to lock your stitches with a couple of back-stitches. Sometimes I even add a zig-zag stitch to reinforce even more. Ripstop only stretches diagonally, so zig-zag stitches are not required.
Hammock Suspension
The first item to create in your suspension system are the Whoopie Slings, which are your primary suspension cords. There is a huge amount of knowledge out there for creating these slings and I suggest searching “DIY Whoopie Slings” on Google. The best tutorials I found on splicing and making these slings are IroinLion and Hoot on YouTube. I have a few pictures of my creation in this write-up. I will post a lot more splicing information on my next hammock creation.
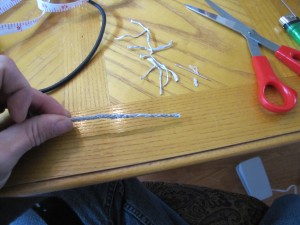
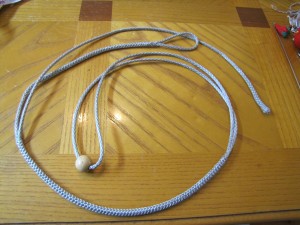
The Whoopie Slings are where you will use your Amsteel Blue 7/64. First taper the ends. Measure your fixed eye and splice it in. Measure your adjust ability and splice in your main loop and closed end. Be sure to watch the videos above very carefully. The whoopie slings are your lifeline off the ground.
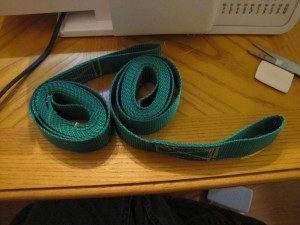
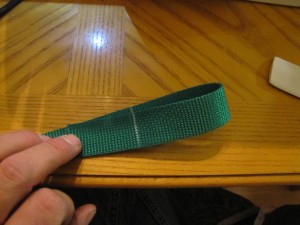
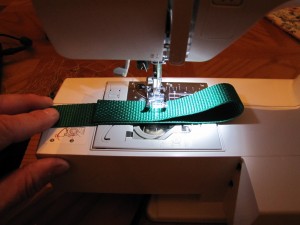
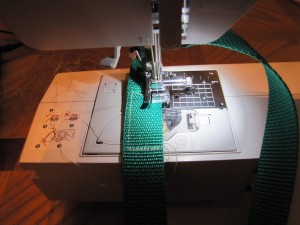
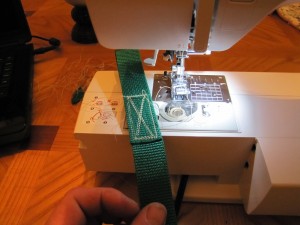
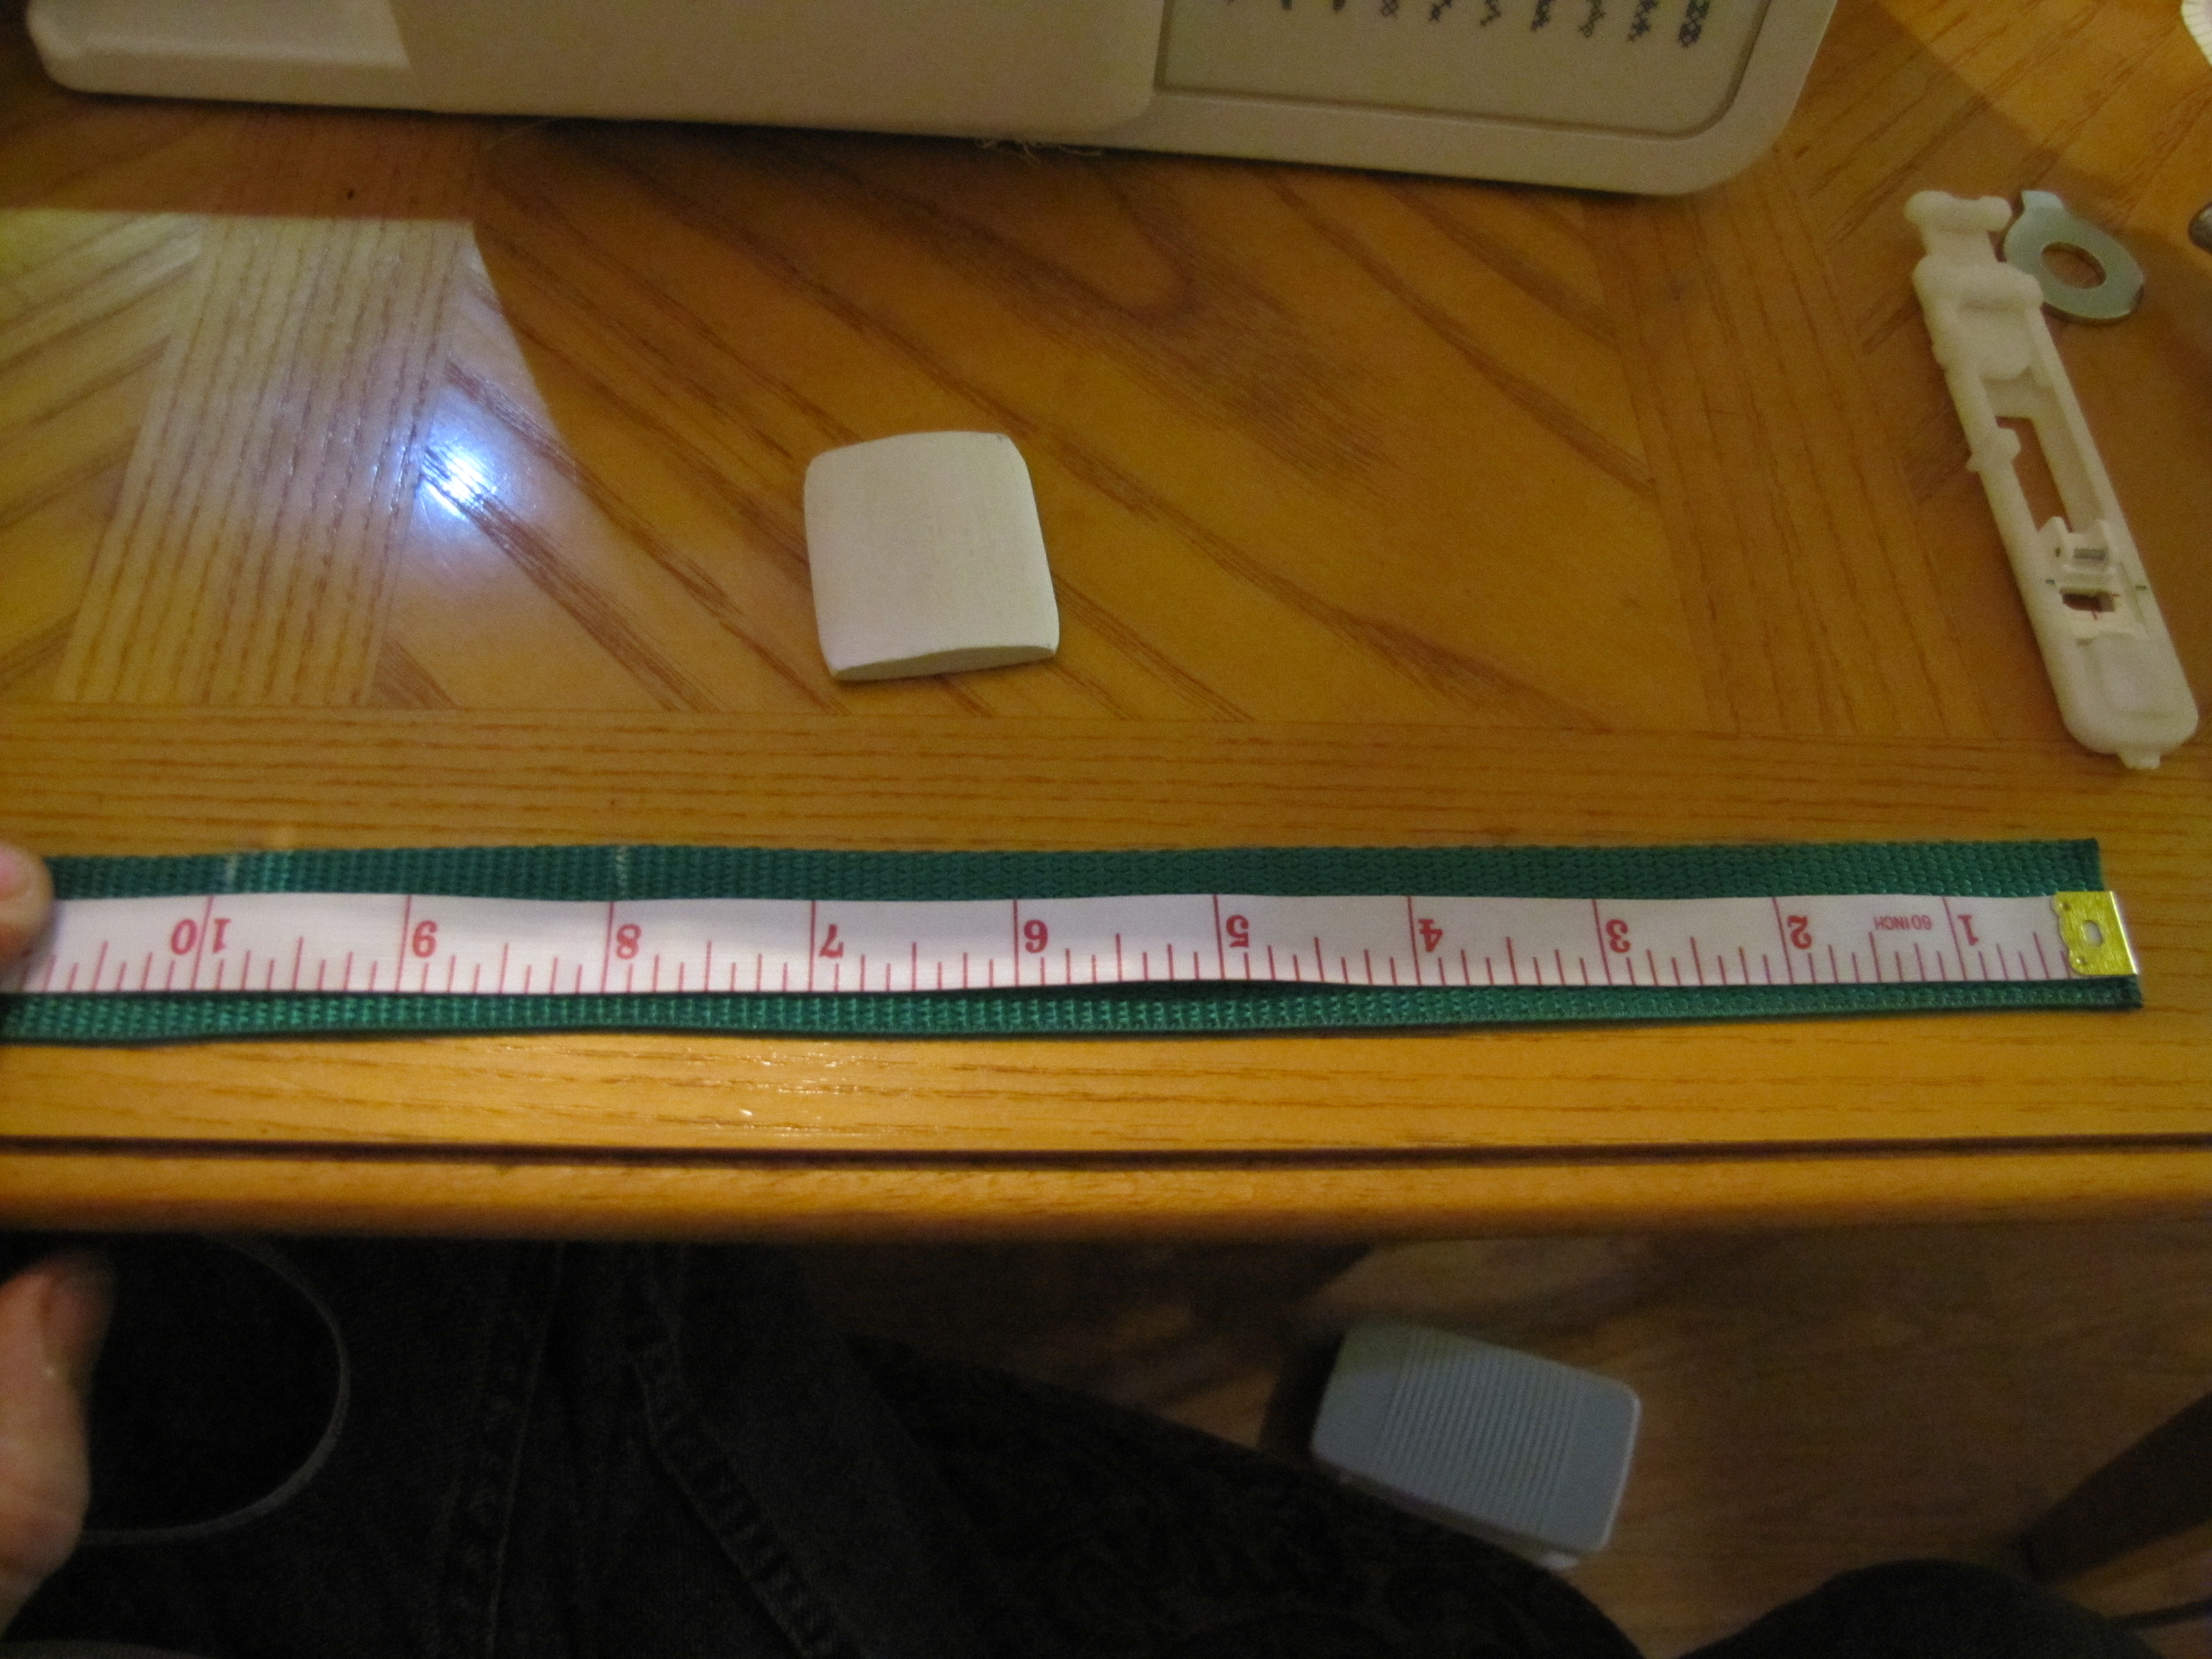
The next item to create is the tree straps. These are pretty east to create and
function perfect for tying off to a tree. You can make these straps 6 to 9 feet long with fixed loops on the end. Measure out 6 feet + 20 inches of blank webbing. On one end measure in 10 inches and fold the webbing over creating a loop. Sew that loop in place with an X Tack, as shown in the pictures. There are many ways to attach webbing to itself, but for the best performance, use the X Tack. Now repeat for the other end and you are all set. When wrapping these around a tree, just wrap it around the tree and feed one end into the other’s loop and pull tight.
Ridgeline
I have not created my ridgeline yet, but this section will explain which system I use and how to create and attach it.
Attaching Suspension and Tree Straps
There is a great video on how I attach my suspension system to the hammock. The video can be found here. This technique does not need to be re-invented and there are so many experts out there, you can find what fits you best. Here is the video by Dave Xtrekker.